Getting My Toenail Wet with Adobe Premiere
AKA: Scratching the surface of a powerful video editing program
A fall hike in Ventura County, California starting and ending in my home. Pretty cool to have natural beauty like this right outside your doorstep. Something to be truly appreciative of.
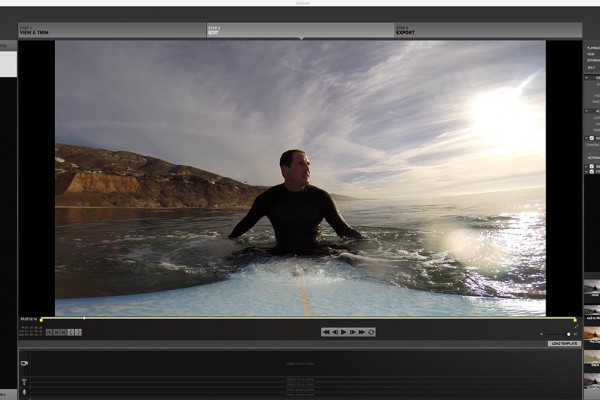
I shot this time lapse video at 1fps on a GoPro 3+ with a head strap mount. A one hour and 40 minute trek condensed to 2 minutes 39 seconds. I must admit that my forehead started aching just before the halfway point, and the back of my head joined in just after the halfway point. Couldn’t wait to get that contraption off my head! If I use it again for an extended period of time I’ll affix some neoprene to the plastic strap junctions at front and back.
This time lapse video consisted of close to 5000 individual jpeg images. Getting them into Premiere was quite simple. Selecting import from the file menu you simply select the first image of your sequence from the correct folder and click on the box that says image sequence. That’s it. Now all of those jpegs are loaded as a single video clip. From there I imported a single jpeg to use as my intro, and created the title using the text tool within Premiere. Then another image (GO!) created in Photoshop to transition to the video, and my final outro logo image. I grabbed a piece of music from a stock site, and called it done.
As I’ve indicated, I barely scratched the surface of Premiere here. Having said that, for this little project I found it very straightforward and I’m excited to see what I’ll be able to create when it comes time to dig deeper.
Video ©Ed Ward. Shot with GoPro Hero3+. Edited in Adobe Premiere Pro CC 2017.

Recent Comments