Using GoPro Studio Stock Templates
And What Not To Do As An Amateur Video Editor
GoPro Studio is rather straightforward. It’s also free, and can be downloaded here. You don’t need a GoPro camera to use this software. A list of compatible file formats can be found here.
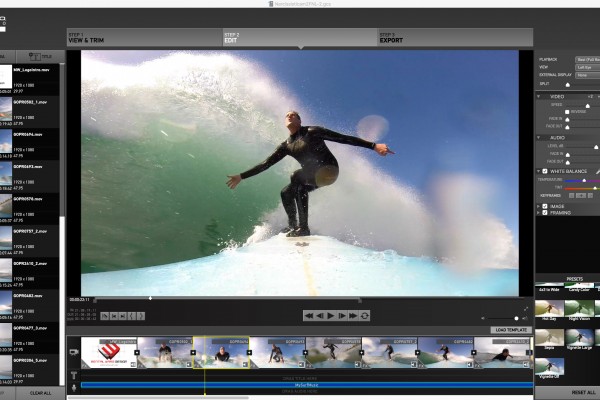
For Narcissisticam1 I used one of their existing templates. All edits were in place and synched to the provided audio track. GoPro Studio templates are completed videos. You simply remove their clips and replace them with your own. The template I used for this video originally had a dirt bike theme. So while it’s kinda drag & drop, there’s a little more to it. This is a 2 minute video, but I culled from a whole bunch of footage. You really need to plan it out and have your clips organized.
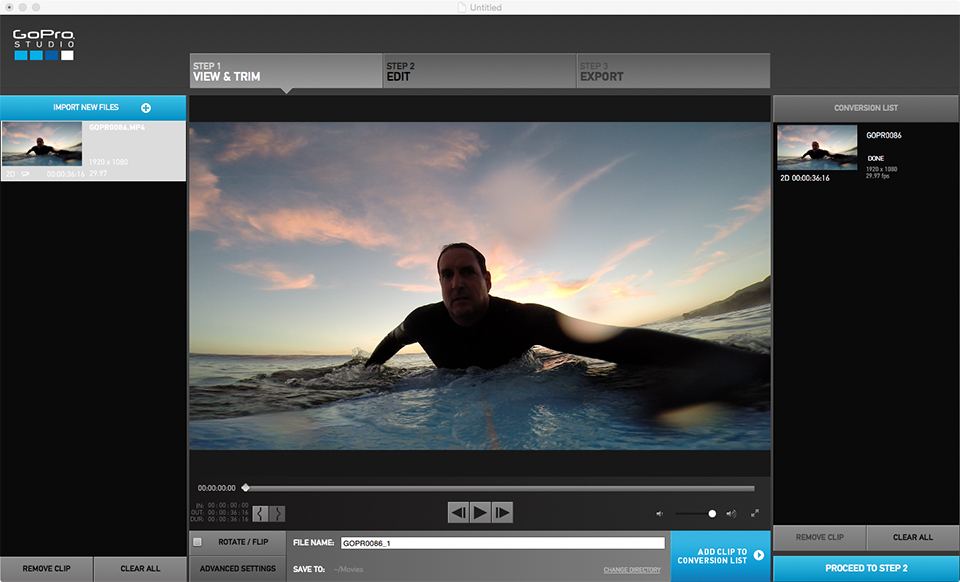
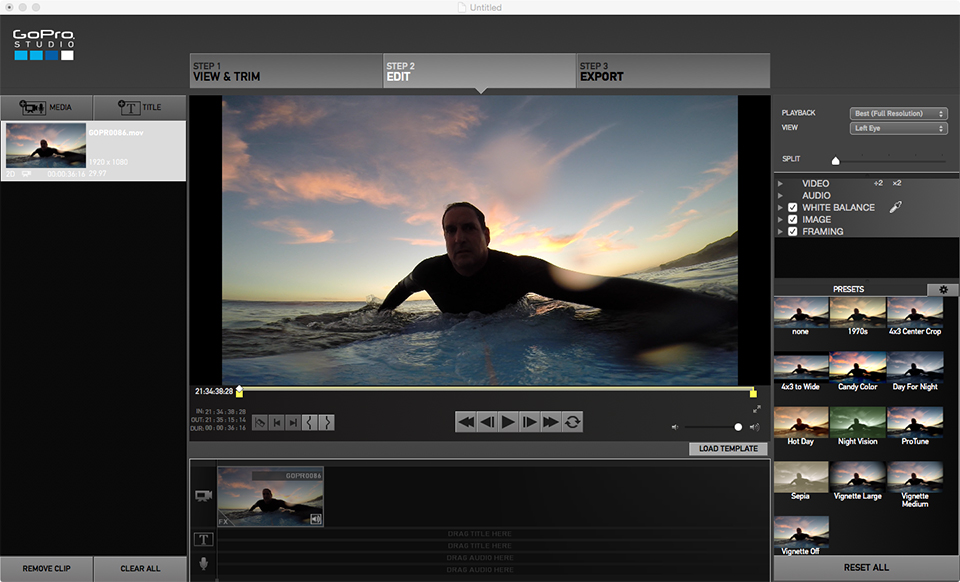
The software interface is broken down into three simple steps: View & Trim; Edit; Export. To the left of this three-tabbed main window is where you import your files. To the right is where you convert them.
- View & Trim – view your newly imported source files and set rough trim points (if wanted) before adding them to the conversion list.
- Edit – this is where the main work gets done. You’ll do all of your editing here. Combine multiple videos, add effects, music and titles. This is also where you can select a GoPro template or create your own.
- Export – share your movie with the world by choosing a variety of export formats (or by creating your own custom setting).
Step 1 and Step 2. (Step 3 brings up an Export Dialogue)
One thing I didn’t realize while creating this video is that GoPro Studio is database driven. I’ll have to chalk this up to being a video newbie. The software references clips on your hard drive outside of the document (as opposed to importing the clips themselves into your document). While you’ll be prompted to import each clip and then convert them, the converted files DO NOT exist in the document itself. This was a naive presumption on my part. When you add files to the conversion list and convert them, they are processed into GoPro CineForm files. I learned this the hard way. After spending an entire evening (5-6 hours) learning the software and putting this video together on my laptop, I found that my processor wasn’t powerful enough to render it! Okay, I thought, no problem. I figured I’d copy it to my desktop computer in the morning and render it there. Uh-uh. I was unable to find any documentation on updating links. But really, what do you want from free software? I had to recreate the entire video sequence from scratch on my desktop computer. But because I had taken copious notes on which clip came from what video, where to put each clip sequentially, and had my laptop next to me so I could see where my edit/trim points were originally, I was able to recreate my composition in less than an hour.
I hope someone can learn from my experience. Even if you couldn’t care less about video, planning things out and taking notes when attempting something new is a solid part of a good workflow.
If you are interested in learning this software further Here’s a link to the manual for MAC OS, and here it is for PC. Happy editing!
Stay tuned for Narcissisticam II, where I’ll delve in to creating a custom template and share my experience as well.
Video and screen captures ©Ed Ward. Video shot with GoPro Hero3+. Video edited in GoPro Studio.
Note: The GoPro intro and outro are optional when using stock templates. I kept them in because I’m happy to promote this little beast.


Recent Comments