
I was asked by the online creative community PixeLobby to initiate a design challenge for it’s members. Since the question “what are your favorite plugins” often comes up in such groups, I figured I’d take the opportunity to “plug” one of my favorites: Eye Candy 7 by Alien Skin. It works with Photoshop on MAC or Windows and is available for a free 2-week trial period by clicking here.
First of all I’m not associated with Alien Skin, and receive no compensation for this endorsement. I’m merely a fan of their products and service. Secondly this isn’t meant as a “serious” tutorial as much as a small taste of what can be done in a very short amount of time with Eye Candy 7.
I’ve chosen to show how to quickly and easily turn plain text into an eye-catching graphic by using two of the filters in the EC7 package: Glass, and Water Drops. The list of filters included in this package is too extensive to cover in this “quick tip,” but I hope to interest you enough to check out the link provided above.
As a bonus, if you’re unfamiliar with the use of Smart Objects and Smart Filters, this little demonstration will illustrate why it’s a good practice to use them in your non-destructive work flow.
Step 1: Pick the Right Font
The first step is to pick an appropriate font for your project. Design 101, yes, but many PixeLobby members aren’t designers. It’s a place for creatives of all disciplines to learn, share and integrate.
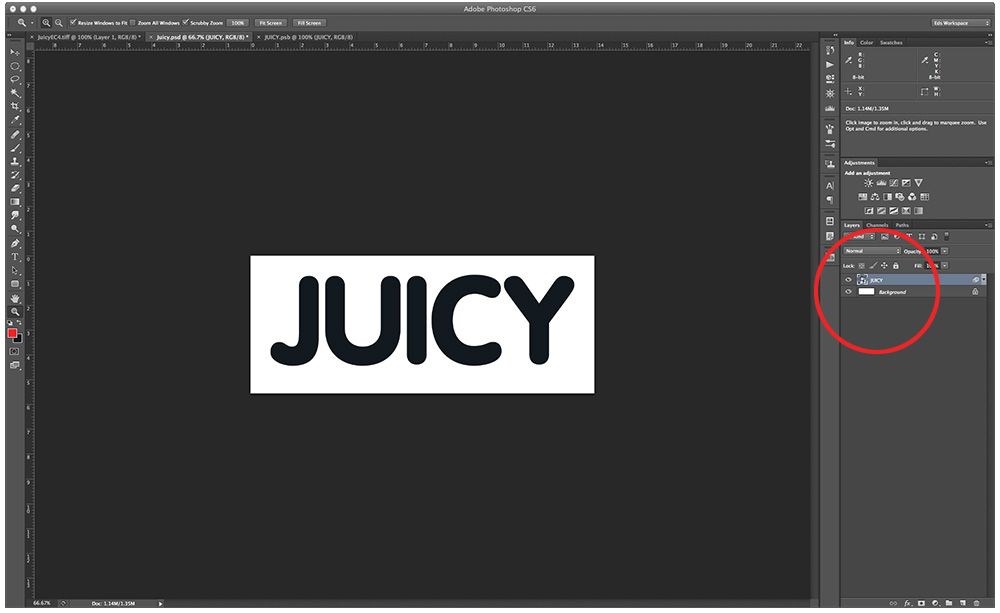
Plenty of fonts would work here, but typestyles like Engraver’s Old English and Balmoral aren’t on the approved list. Do I have to mention Comic Sans? Here I chose Vag Rounded Bold. I converted the text to a Smart Object so that I could use Eye Candy as a Smart Filter. The reason will become obvious later in this simple exercise.
Image shows font in place and converted to smart object.
Step 2: Start Playing with Your Candy
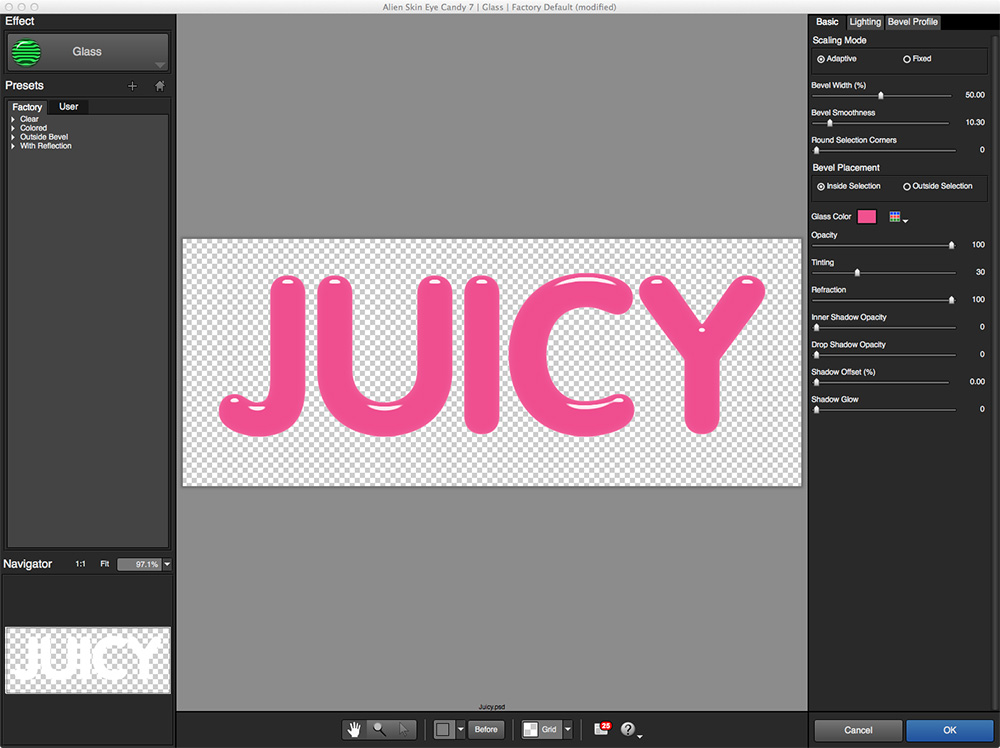
Opening EC7 I selected Glass from the initial filters panel. In the Basic tab I set my Bevel Width and Smoothness, Glass Color, and eliminated all Shadow options as I’d rather do that within Photoshop if desired, and not commit to it here.
Image shows Eye Candy’s Basic tab with settings chosen.
Step 3: Choose a Reflection Map
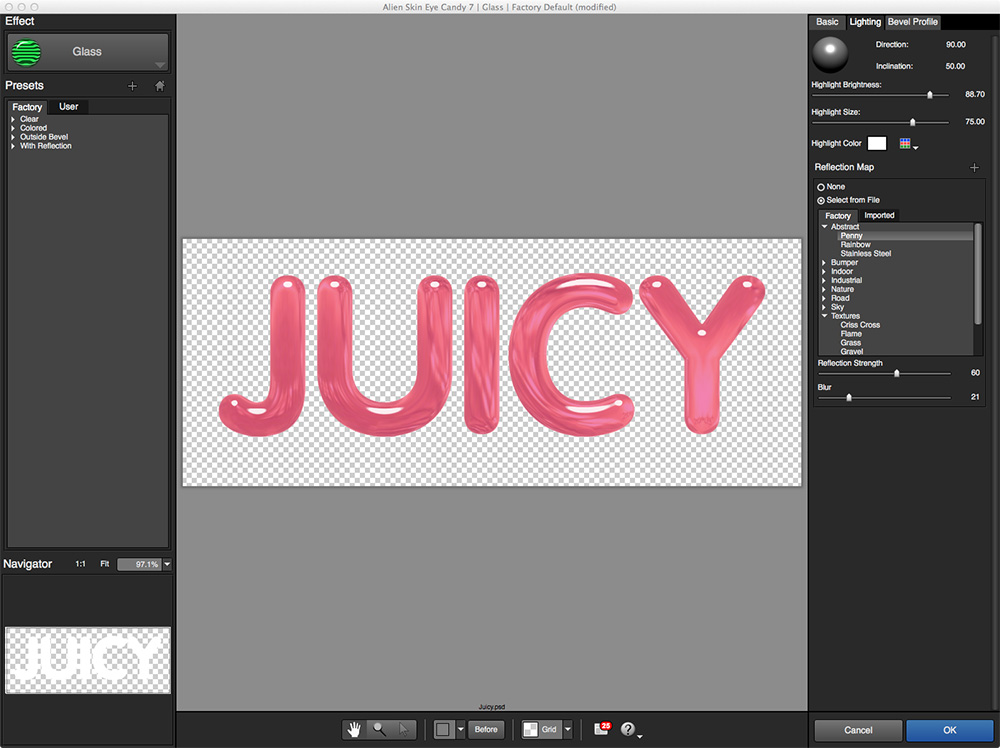
Switching to the Lighting tab I set Highlight Brightness, Size, and Color and choose a Reflection Map from over 40 presets (you can create your own as well) in 8 categories. I chose Penny. I also set the Reflection Strength and Blur. After I was happy with my settings in the Lighting tab I went back to the Basic tab and increased my Bevel Width to about 70 for a more rounded look.
The Bevel Profile tab contains 11 presets and a Curves dialog for your own custom bevels. I stuck with the default Rounded Button Profile for this exercise. Back in Photoshop the Smart Filter is now listed under the Smart Object
Image shows Eye Candy’s Lighting tab with settings chosen.
Step 4: Let’s Get Juicy
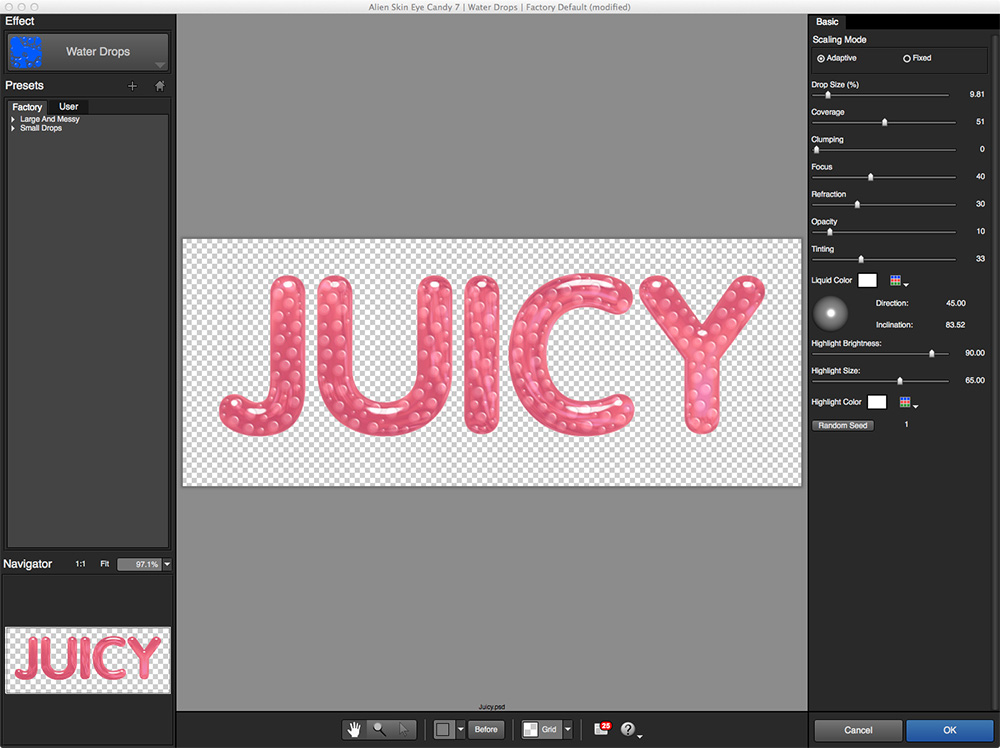
To make it a little juicer I wanted to add some bubbles. For this I added another EC7 Smart Filter to my Smart Object. This time I used Water Drops, experimenting with settings until I achieved the look I was after. Accepting the values I returned to Photoshop.
Note: I set Clumping to 0. A higher value here will give you more of a lava lamp effect.
Image shows the Eye Candy Water Drops interface with settings applied.
Step 5: Shake Up Your Juice with Smart Objects & Smart Filters
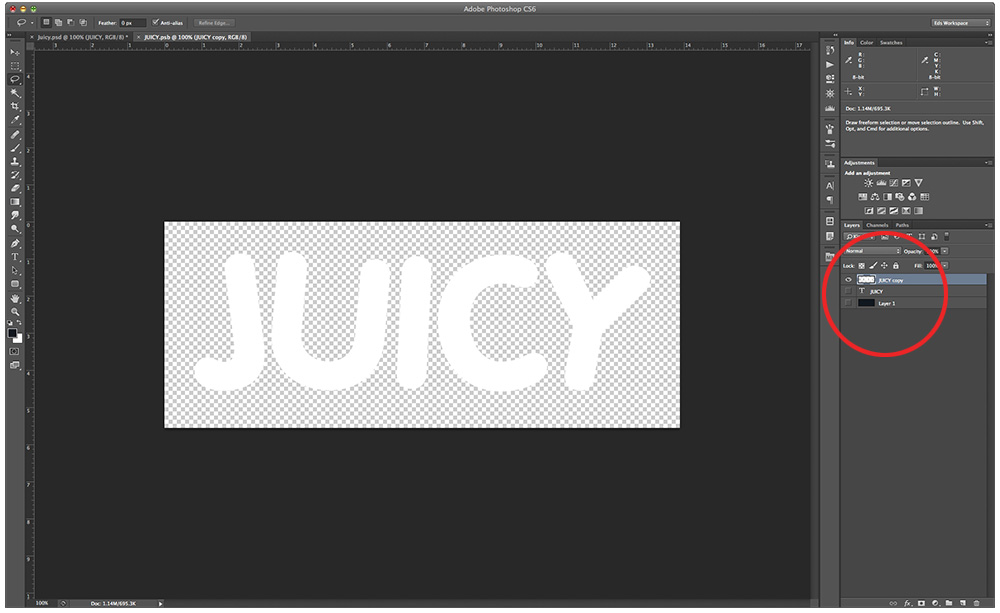
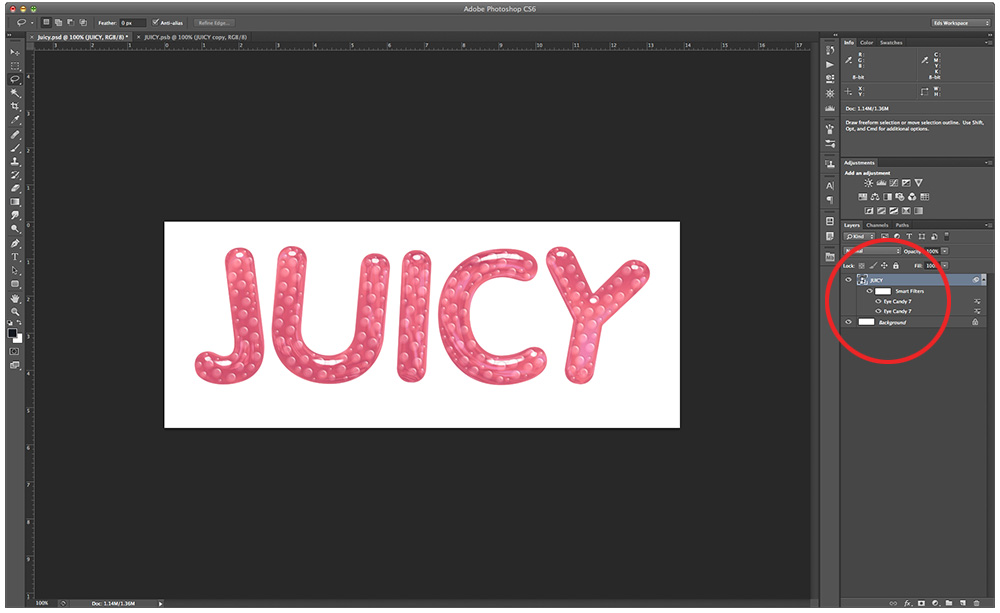
Next is where you can see the true value of using Smart Objects and Smart Filters in a non-destructive workflow. Opening my Smart Object by double-clicking on it’s icon in the Layers Panel, I resize the canvas to the main document’s size (when I converted the original text to a Smart Object it was cropped to the dimensions of the text). I duplicate the text layer, rasterize the duplicate, and selecting each letter individually with the lasso tool, I rotate them into a more playful arrangement. And viola, upon saving the Smart Object, it updates in the main document with it’s Smart Filters intact. If I’m unhappy with the result, I can simply return to my Smart Object and make changes until I’m satisfied. My Smart Filters will eagerly comply to the wishes of their Smart Object. Pretty cool.
Images show the opened Smart Object with duplicated and tweaked text layer, and the result in main image after saving the Smart Object.
Step 6: Add some Juicy Color
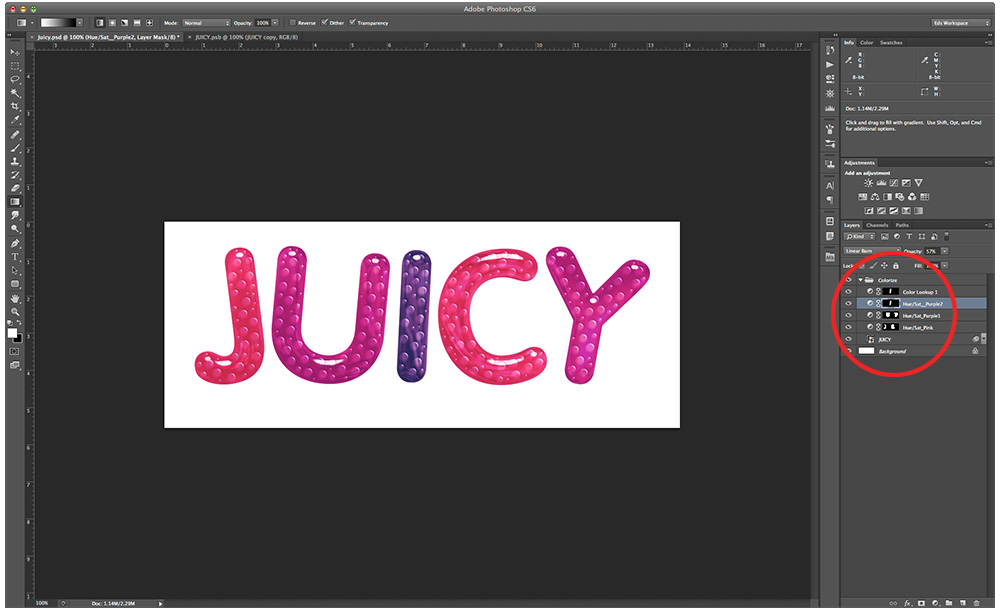
To make the graphic just a bit more “juicy,” I colorize the individual letters using the colorize check box on individual Hue/Saturation Adjustment Layers. These layers were set to Linear Burn with opacities in the 60% range.
Image shows individual letters colorized with Adjustment Layers to add “pop.”
Final Thoughts
Of course you can use any of these filters right out of the box with fast and eye pleasing results. I wanted to illustrate that you can also quickly come up with some interesting variations by using them in combination. I find that Chrome and Brushed Metal work well together. Emboss (using pitting) also plays nicely with Extrude. You may even want to throw a little Rust on top of either one of those.
Eye Candy is by no means a text-only filter. There are many textures and effects useful for a variety of purposes. Check out what I did using the Lightning filter in the background of the cover art for this Middle Grade novel. I’ve used other Alien Skin products in the past and have always been pleased. Snap art is great, and while I’ve never used Exposure, I’ve heard good things about it as well. Eye Candy, however, is the one plugin I’ve consistently upgraded whenever one’s been available.
I hope you enjoy playing with Eye Candy, and please feel free to share your thoughts about it on this blog.
Artwork and tutorial/review ©Ed Ward.

Recent Comments