I was asked to design a banner for the Photoshop and Lightroom group on Facebook, and felt it would be a good opportunity to create a tutorial as well. First, some props: If you’re unfamiliar with the group, check it out here. It’s a good place to learn, share and help. It was created by my friend Andrew Kavanagh, who’s a talented Photoshop artist and tutor. Here’s a link to his website. Cindy Joy Wilkerson is an administrator of the group, and it was she who asked if I would create a banner. She’s a terrific photographer located in the Pacific Northwest, and her work can be seen here.
This tutorial assumes a good working knowledge of Photoshop and is not intended for beginners. As it’s my first, and I’d like to do more, I encourage feedback. Please let me know if I’m unclear in any area and I’ll try to clarify. If you have a workflow that you feel would be better suited to any particular part of this tutorial, feel free to share it. And finally, this project required experimentation, especially where brushes were concerned. Results may vary.
Step 1: Rough Out Areas for Design
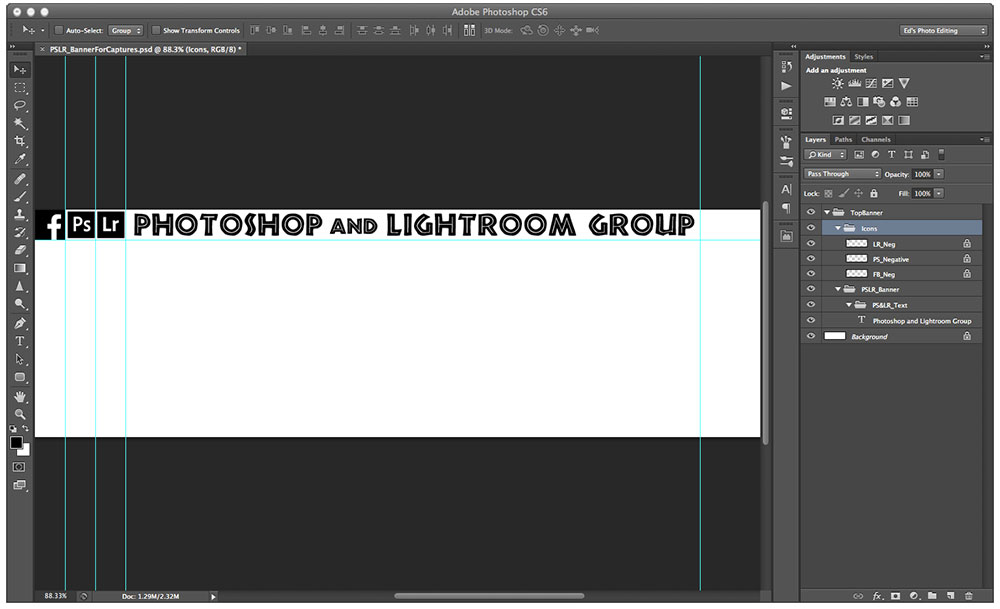
The PS&LR banner always goes up top so I created a space for it. I knew I wanted to use the FB/PS/LR logos as well so I dragged guides and marked out the areas for my top banner. I wanted an appropriate tiki font for the headline and found one on dafont.com called African.
Image shows the initial rough layout with the banner and icons in place.
Step 2: Prepare Headline Font for Displacement
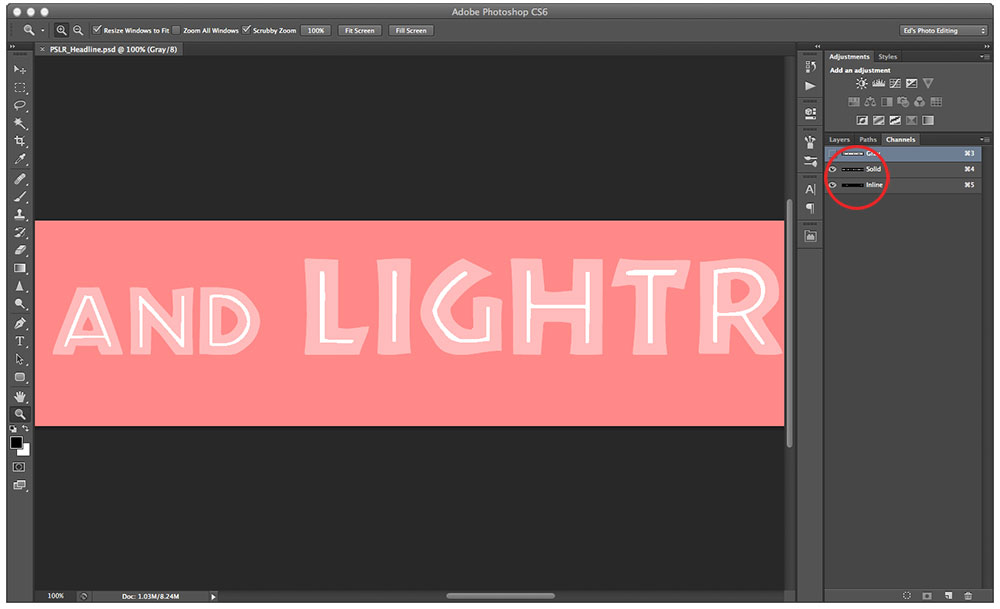
With an inline font like African, the inline is transparent. I wanted the inline to have a second color. Unfortunately at this low a resolution the inline was not selectable. To compensate, I created a high res grayscale document, dragged my text into it, and enlarged the text. Making a selection of the text, I created an alpha channel. I duplicated the channel and used the Magic Wand tool to quickly modify the two channels—one for outline and one for inline. Loading the new alpha selections into two separate layers I filled them with color. Then I was able to drag those layers into my project document where I scaled them down.
Image shows headline inline and and outline channels as quick masks.
Step 3: Place Main Image and Retouch
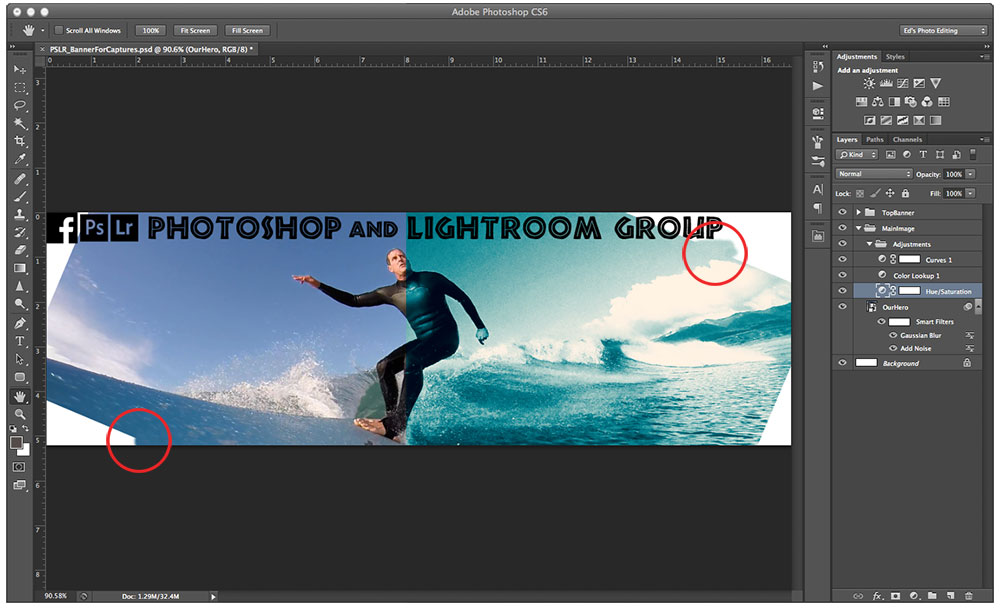
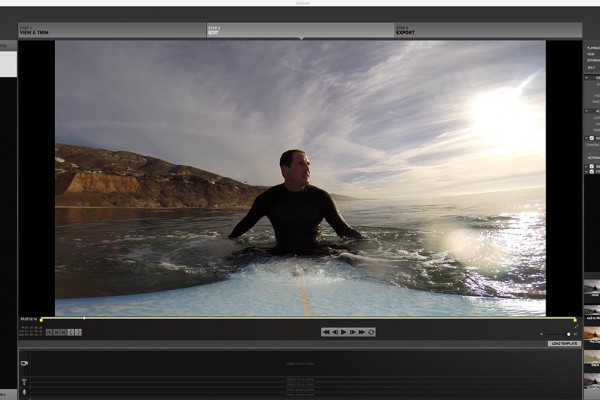
I placed my photograph and tweaked it into a desirable position. Red circles indicate small areas I cloned to fill the intended image space. To create the cyanotpye effect I used Adjustment Layers. Hue/Saturation first. I started with the cyanotype preset and adjusted the hue to 225, saturation to 35 and lightness to +5. Then I added a Color Lookup layer. I selected #DLUT and used the TealOrangePlusContrast setting. It was looking good, but I wanted a bit less yellow so I added a Curves layer and adjusted the blue channel to suit.
Next I converted the image to a Smart Object in order to experiment non-destructively with Smart Filters. I wanted a nostalgic 60’s film grain feel. First came Add Noise with a uniform setting of 3. This gave me the graininess I was after, but it was a bit too sharp/new looking. To tone it down just a tad, I added Gaussian Blur at .2.
Image shows photograph in a before-and-after split. Straight out of camera (SOOC) at left, and with adjustment layers and smart filters at right.
Step 4: Tweak Headline Text with a Displacement Map

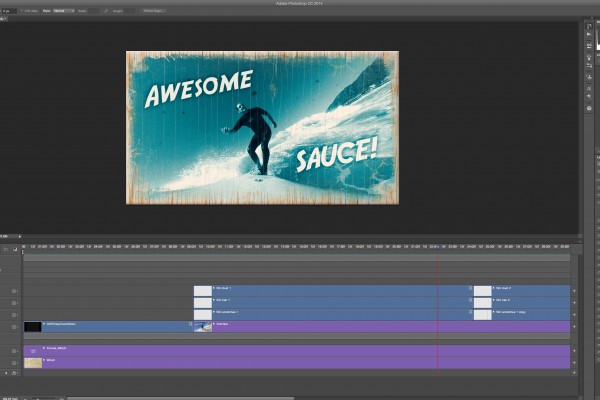
I added a wood layer with pronounced grain for text displacement. Then I masked the layer based on the guides I created in step 1 and added minimal Bevel & Emboss and Drop Shadow layer styles (this is repeated for each of the “wood blocks” to make them look assembled). From this layer I created a Displacement Map for the text.
Selecting the entire wood layer, I copied and pasted it into a new document. I converted that document to grayscale. Then I added a Curves layer to strengthen the contrast and saved it as a PSD. Back in the project document I selected my inline and outline text layers and after coloring them red and black, merged them. From the menu I selected Filter>Distort>Displace. I navigated to the grayscale PSD I just created to use as my Displacement Map. Since it’s such a small file I only used a horizontal setting of 1 and vertical of 0. I set the layer blending mode to multiply at 80% opacity. To bump the contrast in the wood grain I shift/dragged the grayscale layer from my Displacement Map PSD into my working document onto a layer above the wood layer and set the new layer’s blending mode to overlay. A simpler way to achieve the result from this last step would be to add a Levels adjustment layer set to overlay. However, the method I used here produced a more pleasing outcome with higher contrast.
Image shows split between displacement map document and finished banner. The text over the left part of image (displacement map) is shown for before-and-after effect only. It does not exist in the actual displacement PSD.
Step 5: Use Custom Brushes to Distress Image
The rest of this project is all about custom brushes and layer masks. For the main image I first created a mask for the folder itself—just a straight edged rectangle along my guides. I pasted a new wood grain sample into a layer underneath my main image and resized until satisfied. I then added a mask to my image Smart Object, filled it with black to hide the image and reveal the wood layer, and using a custom brush with white as my foreground color started to paint the image back in. For this I used a collection of “paint roller” brushes. There are many sources for free Photoshop brushes on the web. Check out brusheezy for brushes, backgrounds, and more.
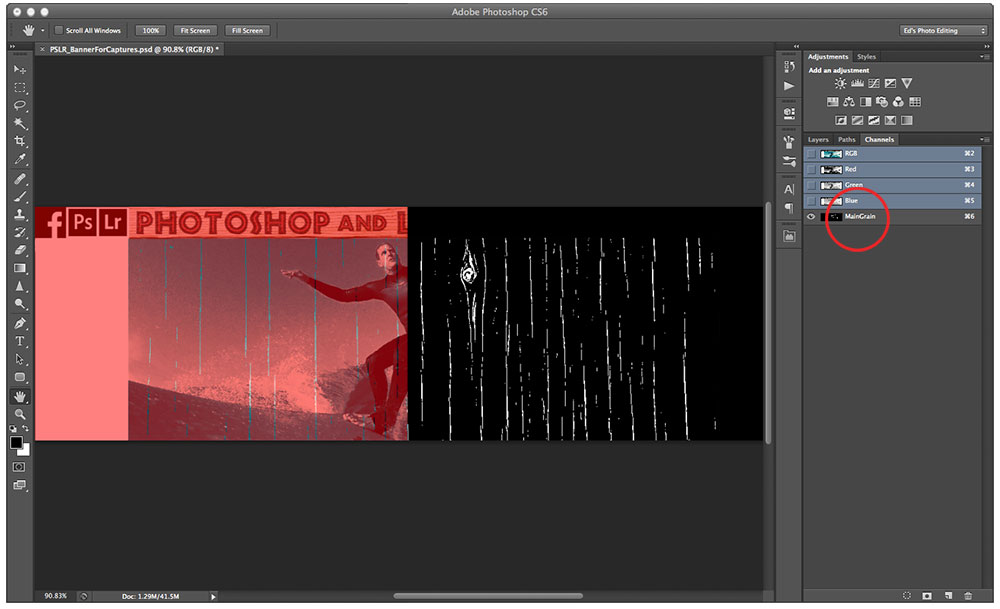
After painting my photograph back in fairly close to the wood edges, it was time to distress the mask a bit further. I copied and pasted the wood layer to a new one and added a Threshold adjusment layer above it. I adjusted the threshold until only the details of the cracks were showing. I merged the new layer with its adjustment layer and copied that to a channel. Then I was able to load that channel as a selection into the mask of my main image and paint out some of the cracks with a soft round brush. I also used a collection of “peeling paint” and “scratch” brushes to remove some of the image at the edges, exposing more wood.
Image shows a split of the main image with threshold channel loaded as a quick mask vs. the threshold channel itself.
Step 6: Complete Remaining Graphic Tiles
The remaining wood panels were completed much in the same way, except for the blending modes of the color layers. Whereas the main image’s layer blending was normal, I set the mode to color for the blue panels and multiply for the red panels and icons. The flower and leaf images were from a free clip art site called clker. The frond and flowers on blue panels were filled with black and set to multiply at 75% whereas the leaf on the red panel was filled with a slightly different red and set to linear burn.
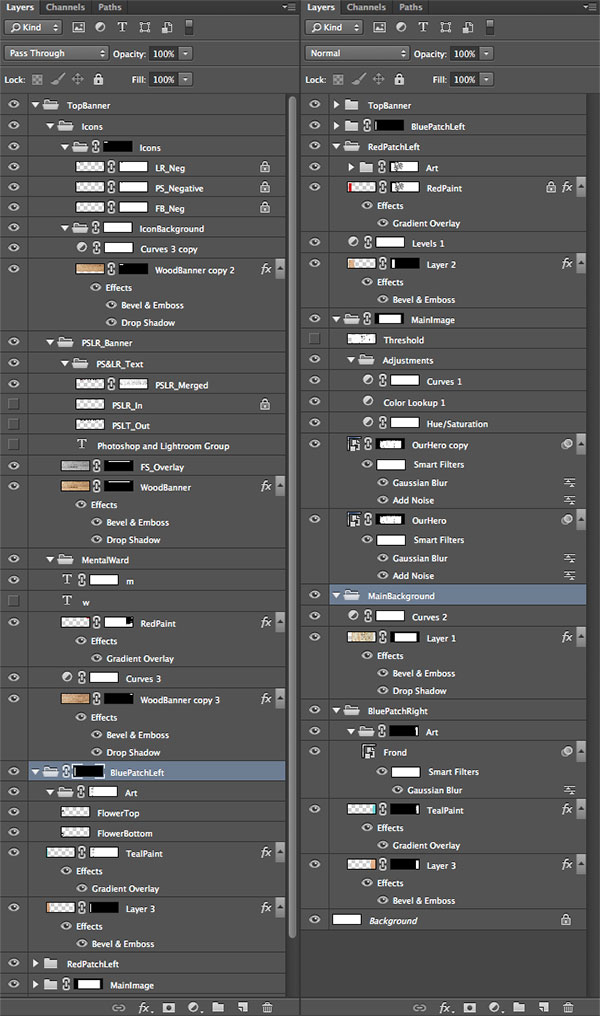
Note: The stacking order of the folders is important to add to the realism of the assembled effect. Top-to-bottom and left-to-right. This can be seen in the associated layer structure image.
Image shows layer structure of completed document. Right column is continuation of left.
Photo, artwork and tutorial ©Ed Ward. Image shot with GoPro Hero3+
8 Comments.
Great tutorial & great banner!
Thanks Ed for the great contributions to the Ps & LR group!
Happy 2015!
Thanks, Andrew. I appreciate the kudos on this banner/tutorial and all the work you do for the online creative community. The best to you and yours in 2015 as well!
Great banner and the cyantotype I love.
Thanks Kay. Now that’s a comment I can easily approve! 😉
I love the wood texture on the text!! Going to have to follow this one thru.
Thanks, Brian. Cool, I’d love to see what you create!
I need to play with this – I love the wood texture
Let me know if you do, I’m sure whatever you come up with will be terrific.